ColorVision Spyder2PRO Studio
Review Date: May 14th 2004
Introduction
 Digital photography and home printing are at an all-time high. It has never been more convenient or cheaper to take a photograph and make a print in the comfort of your own home. A frequent source of frustration, however, is the difference between the image that you see on your monitor and the print that you're holding in your hands. An uncalibrated monitor is usually to blame for this (although inaccurate printer profiles are also a cause). Enter the Spyder2 range of monitor calibration devices from ColorVision. First announced at the Photokina 2004 photography show, Spyder2 is said to deliver a five-fold increase in sensitivity when compared to the previous Spyder model, resulting in more accurate ICC profiles and monitor colours. Spyder2 is available in a range of different packages - in this review I look at Spyder2PRO Studio, which works with CRT, LCD and notebook displays on both the Windows
and MAC platforms. Spyder2PRO Studio includes more sophisticated and flexible calibration software and other bundled extras that are targeted to the advanced amateur and professional photographer. Last year I reviewed the consumer level ColorPlus package, which drastically improved my uncalibrated monitor, so I was intrigued to see if Spyder2PRO Studio could produce even better results. Read my review to find out.
Digital photography and home printing are at an all-time high. It has never been more convenient or cheaper to take a photograph and make a print in the comfort of your own home. A frequent source of frustration, however, is the difference between the image that you see on your monitor and the print that you're holding in your hands. An uncalibrated monitor is usually to blame for this (although inaccurate printer profiles are also a cause). Enter the Spyder2 range of monitor calibration devices from ColorVision. First announced at the Photokina 2004 photography show, Spyder2 is said to deliver a five-fold increase in sensitivity when compared to the previous Spyder model, resulting in more accurate ICC profiles and monitor colours. Spyder2 is available in a range of different packages - in this review I look at Spyder2PRO Studio, which works with CRT, LCD and notebook displays on both the Windows
and MAC platforms. Spyder2PRO Studio includes more sophisticated and flexible calibration software and other bundled extras that are targeted to the advanced amateur and professional photographer. Last year I reviewed the consumer level ColorPlus package, which drastically improved my uncalibrated monitor, so I was intrigued to see if Spyder2PRO Studio could produce even better results. Read my review to find out.
Compare Prices
Support PhotographyBLOG: Buy the Spyder2 PRO from one of our affiliate retailers:Design
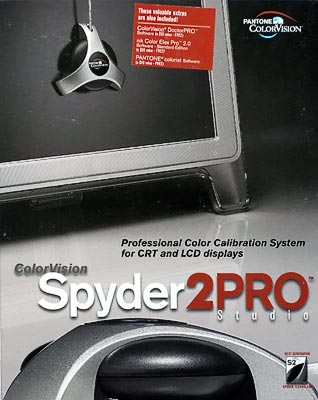 |
| Front of the box |
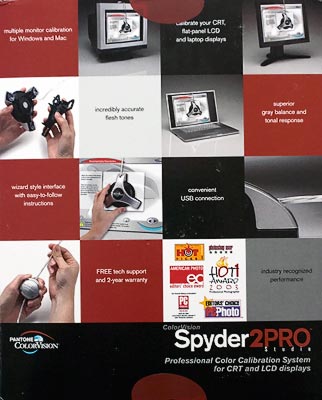 |
| Rear of the box |
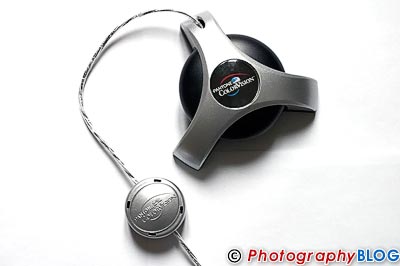 |
| Top of the Spyder2 Colorimeter |
 |
| Bottom of the Spyder2 Colorimeter |
Features and Ease-of-Use
What's In the Box
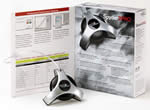
The Spyder2PRO Studio box contains the following items:
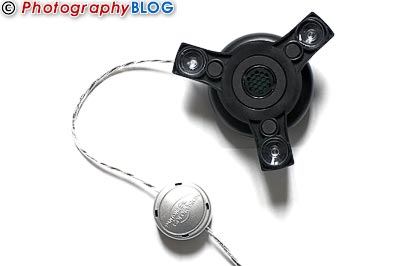
- Spyder2 Colorimeter
Easy-to-use monitor calibration for CRT, LCD and laptop displays. - Spyder2PRO professional monitor calibration software
- ColorVision DoctorPRO
Powerful high-quality printer profile editing software. - Pantone Colorist
Software for specifying colours on your images, screens and printers. - nik Color Efex Pro 2.0 Standard Edition
The next generation of digital photographic filters. - Installation Guide
- Free Technical Support
- Free Software Updates
- 2 Year Warranty
Monitor Calibration Software Installation
Installation of the Spyder2PRO Studio monitor calibration software is very straightforward, taking less than 5 minutes to complete - simply insert the CD and follow the onscreen instructions. You will need to enter the code that is printed on the CD sleeve to register the product.
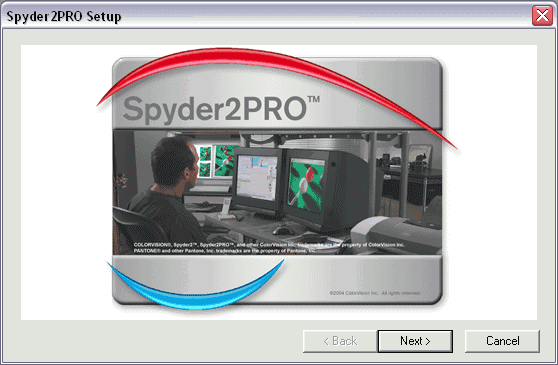 |
| Step 1 The opening splash screen. |
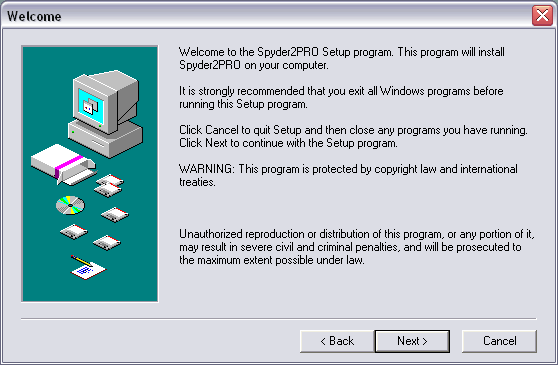 |
| Step 2 The Welcome screen. |
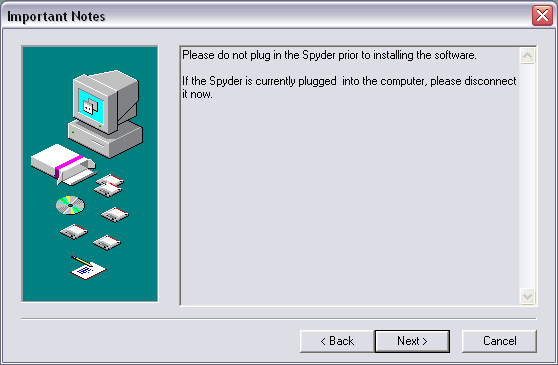 |
| Step 3 A warning to remove the Spyder2 Colorimeter if it is plugged in. |
 |
| Step 4 Read the License Agreement and click Yes. |
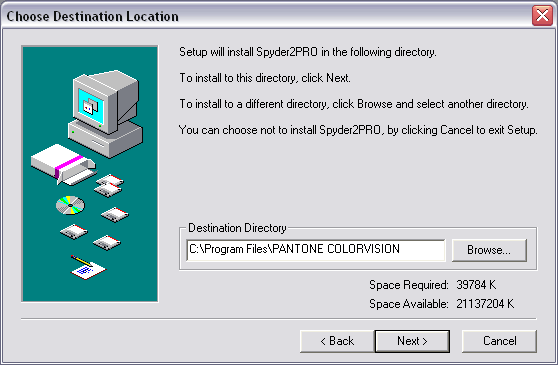 |
| Step 5 Decide where you want to install the software. |
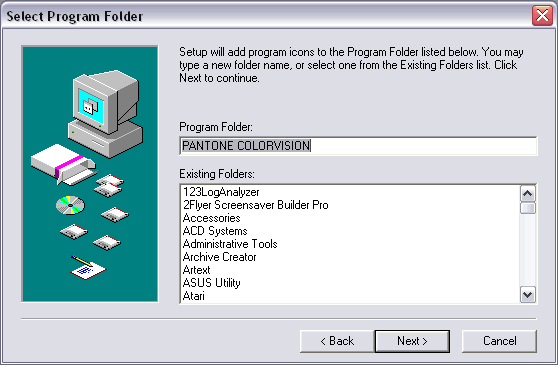 |
| Step 6 Enter a name for the Program Folder. |
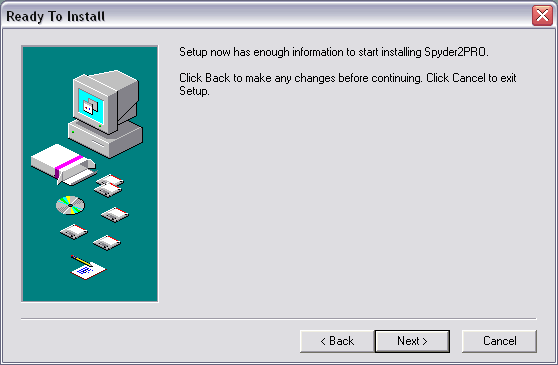 |
| Step 7 Click Next to start the installation. |
 |
| Step 8 A progress bar shows how much of the installation is left. |
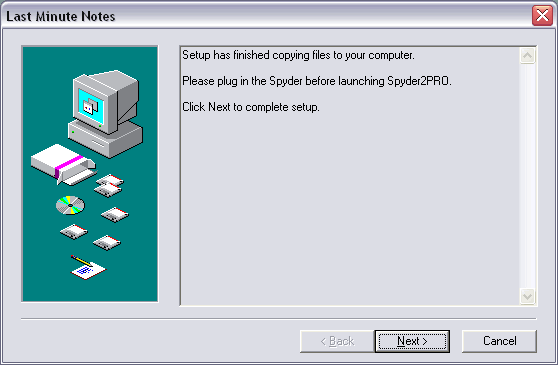 |
| Step 9 Software installation is now complete! |
Monitor Calibration Process
After the software is installed, you attach the Spyder2 Colorimeter to your computer via a USB port. Windows will automatically recognise the new device and build a database for it.
When Windows has finished, double-click the Spyder2PRO icon on your desktop and follow the onscreen instructions to calibrate your monitor, as shown in the screenshots below (click on the thumbnail to open a larger version in a new browser window). Some of the screenshots may vary depending on the specific options that you select for your particular monitor - I tested the Spyder2PRO with an LCD monitor:
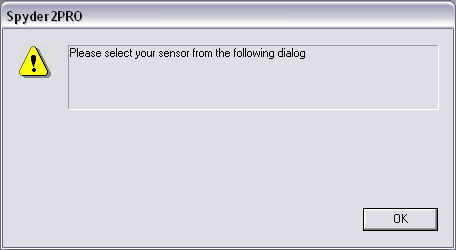 |
| Step 1 The opening screen, instructing you to select your sensor from the next screen. |
 |
| Step 2 Select your sensor from the drop-down list - I'm not really sure why you have to choose this as there is only one option. |
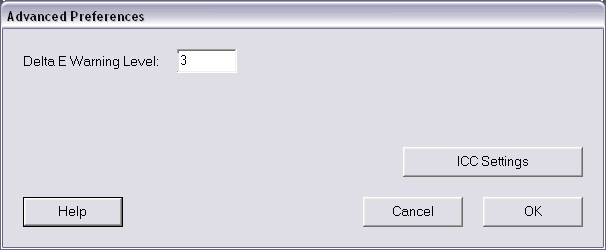 |
| Step 3 The Advanced Preferences screen, where you can change the Delta E warning level. |
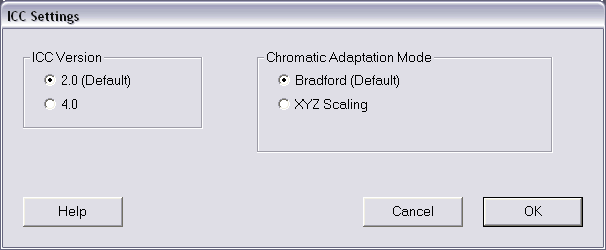 |
| Step 4 The ICC settings screen. I left everything set to default as instructed by the online help. |
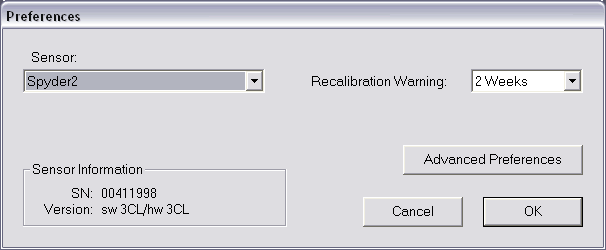 |
| Step 5 When the sensor is recognised its information appears in the bottom-left corner of the Preferences screen. Click OK to continue. |
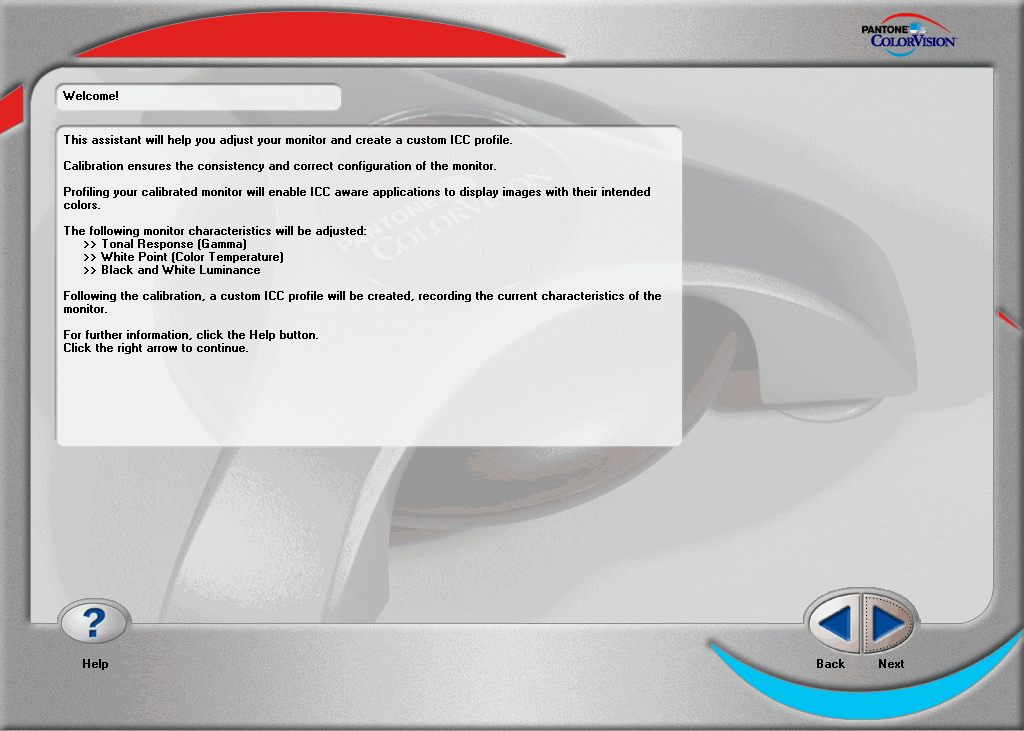 |
| Step 6 The Welcome screen, which outlines the calibration process. |
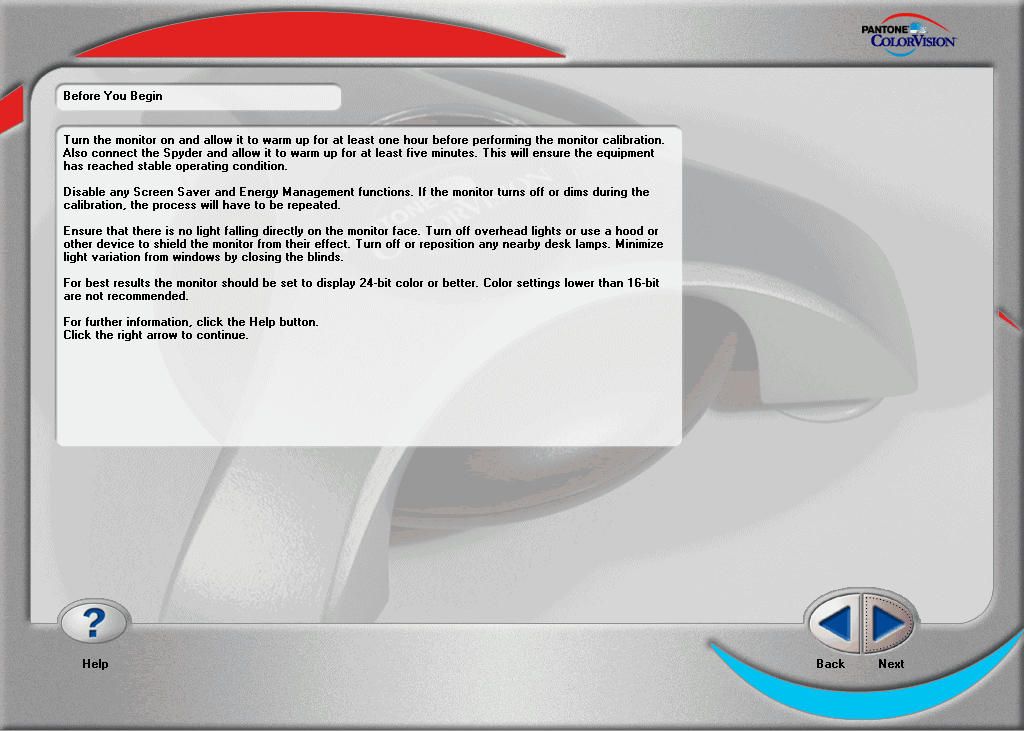 |
| Step 7 Read this important information before you begin. |
 |
| Step 8 Select which type of monitor you are calibrating - LCD or CRT. Select LCD for laptops. I chose LCD. |
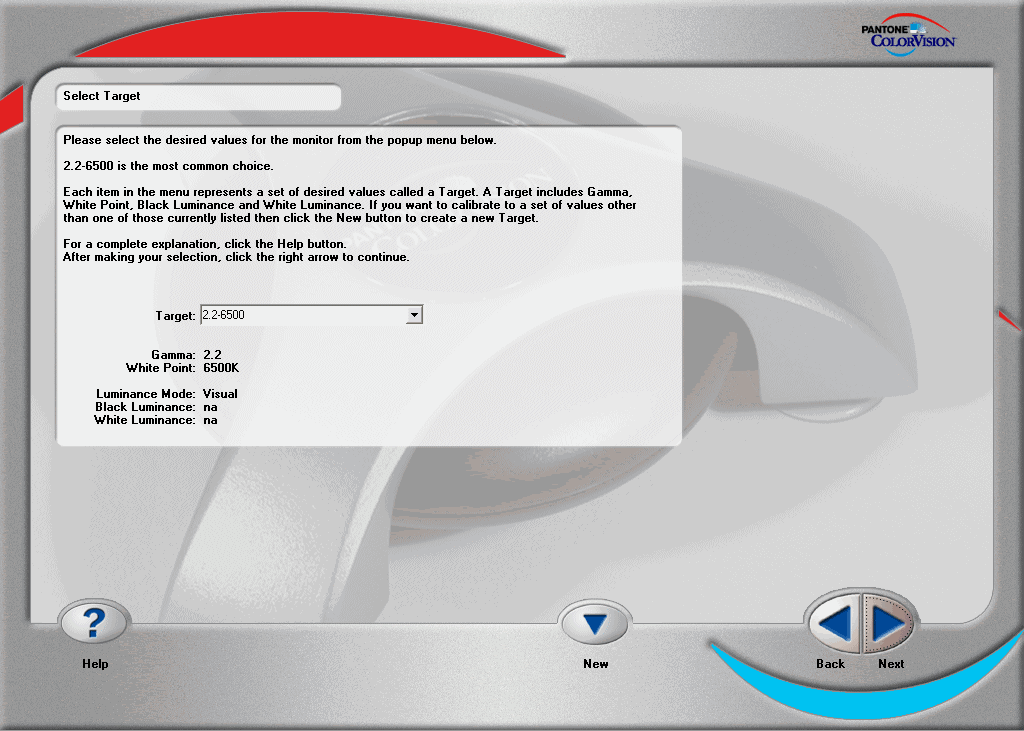 |
| Step 9 Select the target values that you want to calibrate the monitor to. The recommended options are Gamma 2.2 and White Point 6500K. These are also the settings recommended by industry experts like Tim Grey. You can choose a standard target from the drop-down list or click the New button to create a custom target. |
 |
| Step 10 Select the Luminance mode, with Visual being the recommended option. |
 |
| Step 11 A summary of the options that you have chosen - click the Change button if you need to make alterations. |
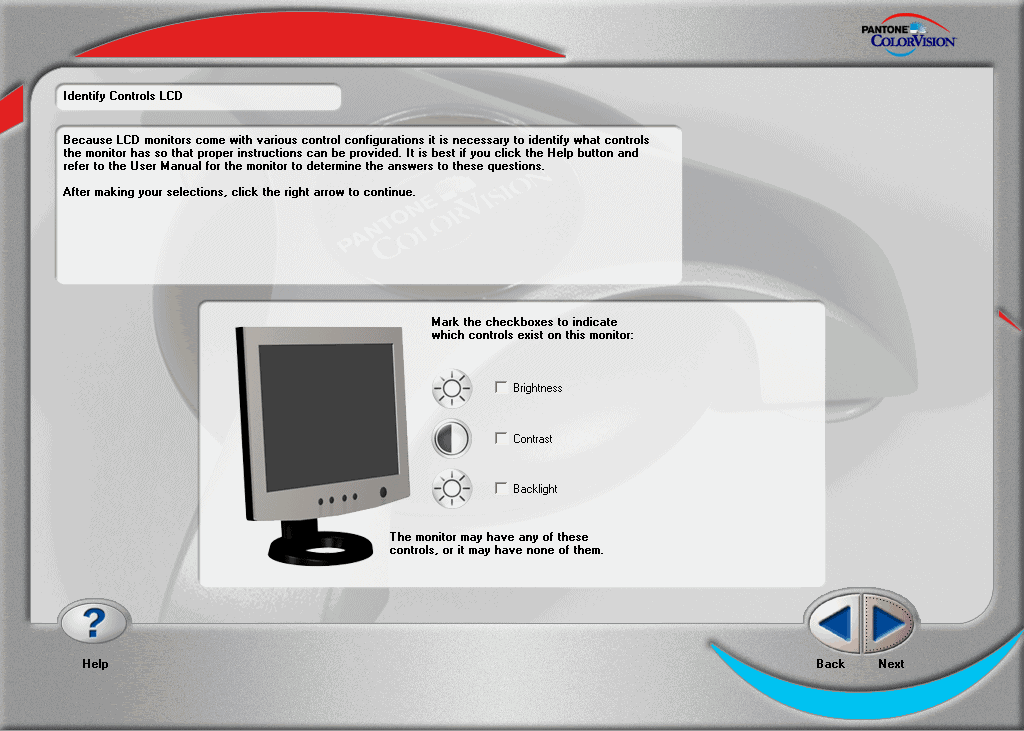 |
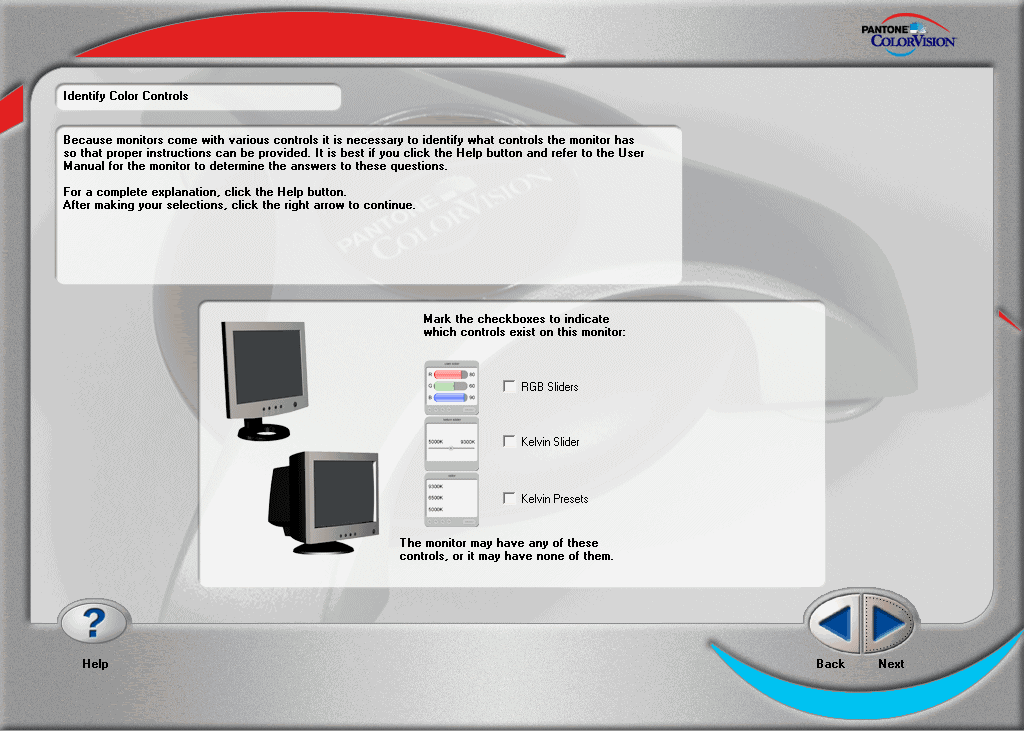
| Step 12 Choose the specific controls that your monitor has for brightness, contrast and backlight. |
 |
| Step 13 If your monitor has controls for brightness and contrast, set them to factory default settings. |
 |
| Step 14 Set the white luminance level to ensure that your monitor is displaying a true range of whites. It is recommended that you leave LCD monitors set to their factory default settings. I tried both ways for my LCD monitor and found that the factory defaults produced a more accurate profile. |
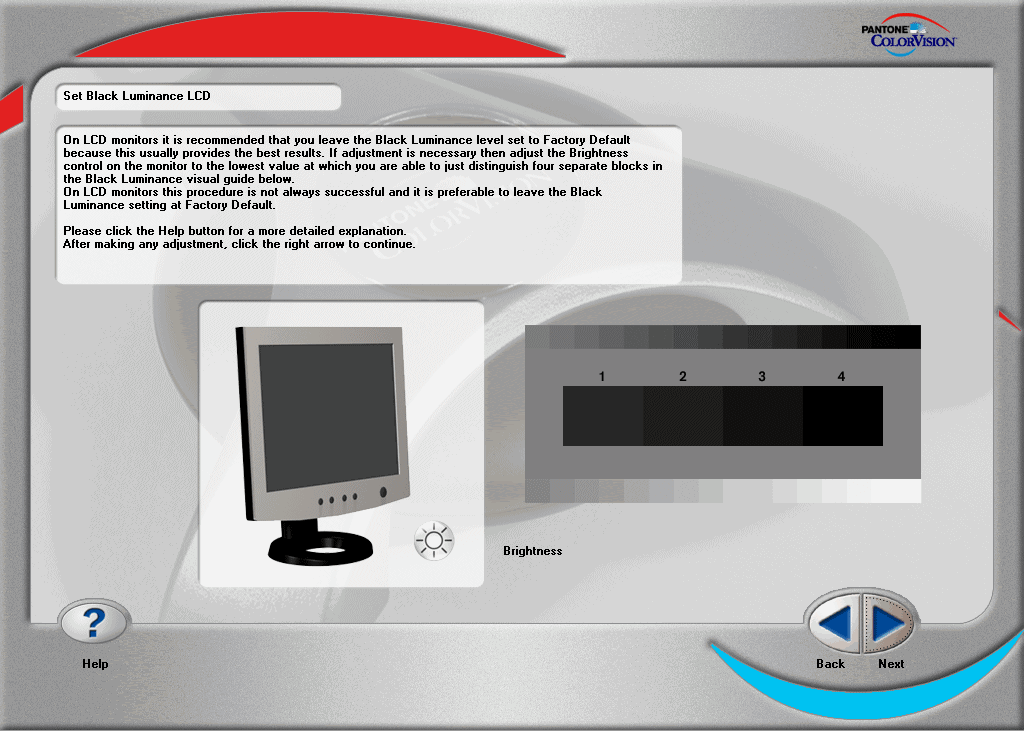 |
| Step 15 Set the black luminance level to ensure that your monitor is displaying a true range of whites. It is recommended that you leave LCD monitors set to their factory default settings. I tried both ways for my LCD monitor and found that the factory defaults produced a more accurate profile. |
 |
| Step 16 Choose the specific controls that your monitor has for changing colour. |
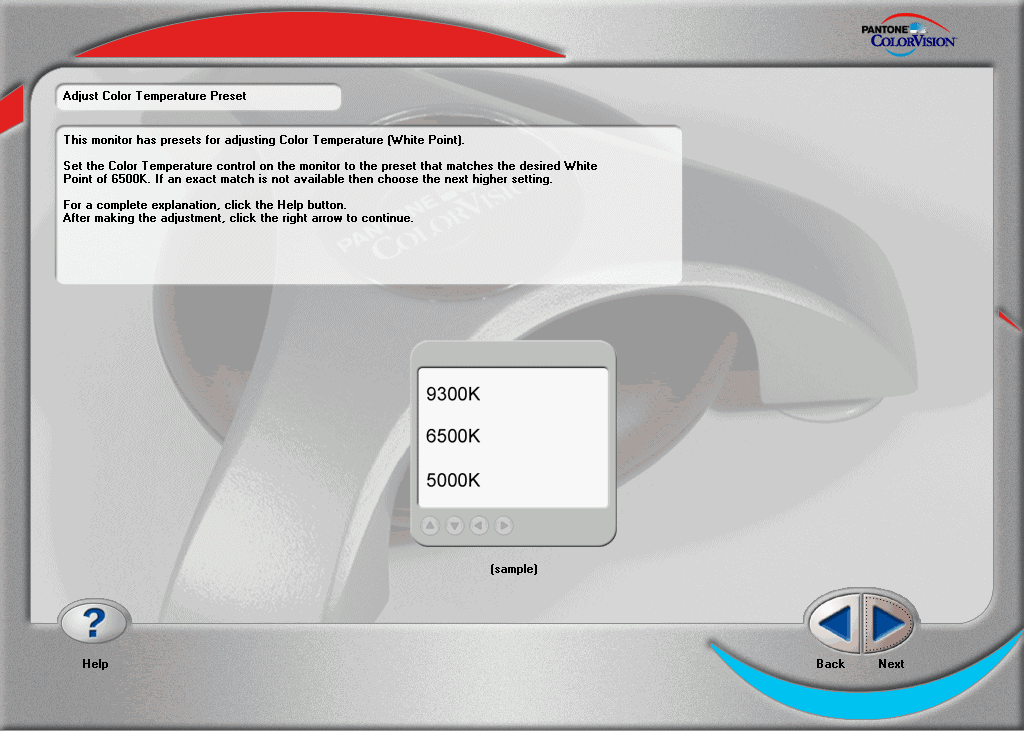 |
| Step 17 Select a colour temperature preset - I chose 6500K. |
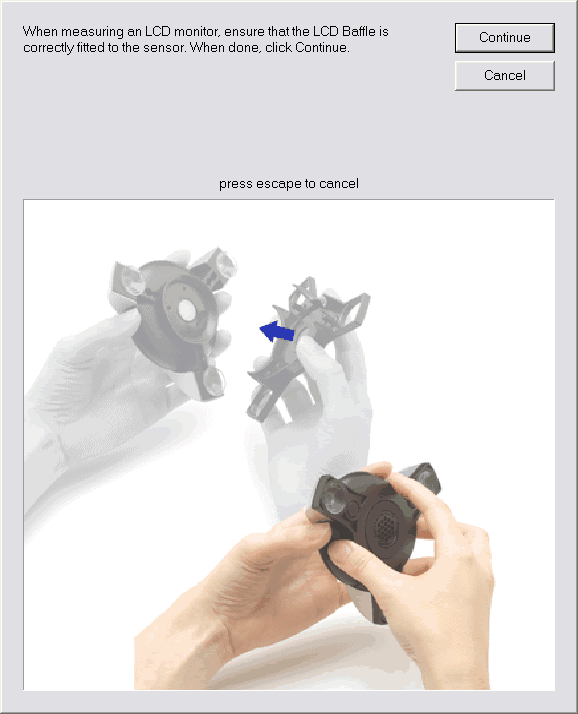 |
| Step 18 Now that you have selected your target values and other settings, the next stage is to actually attach the Spyder2 Colorimeter to your monitor. The exact method of doing this again depends on whether you are calibrating an LCD or CRT monitor. This screen shows you how to setup the Colorimeter for your monitor type. |
 |
| Step 19 Attach the Colorimeter to your screen so that it is positioned over the onscreen picture, following the instructions carefully. Click Continue. The Spyder2 Pro Colorimeter now takes a number of readings from different shades white, black, red, blue and green. This takes approximately 15 minutes to complete. |
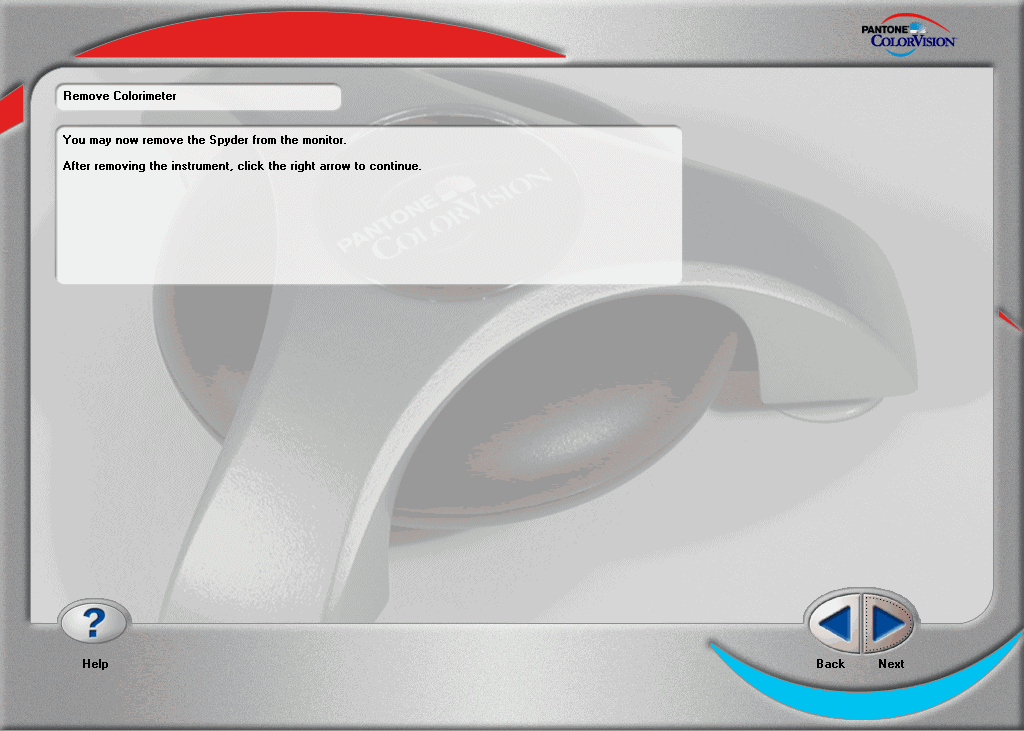 |
| Step 20 When this screen is displayed, remove the Colorimeter from the monitor. |
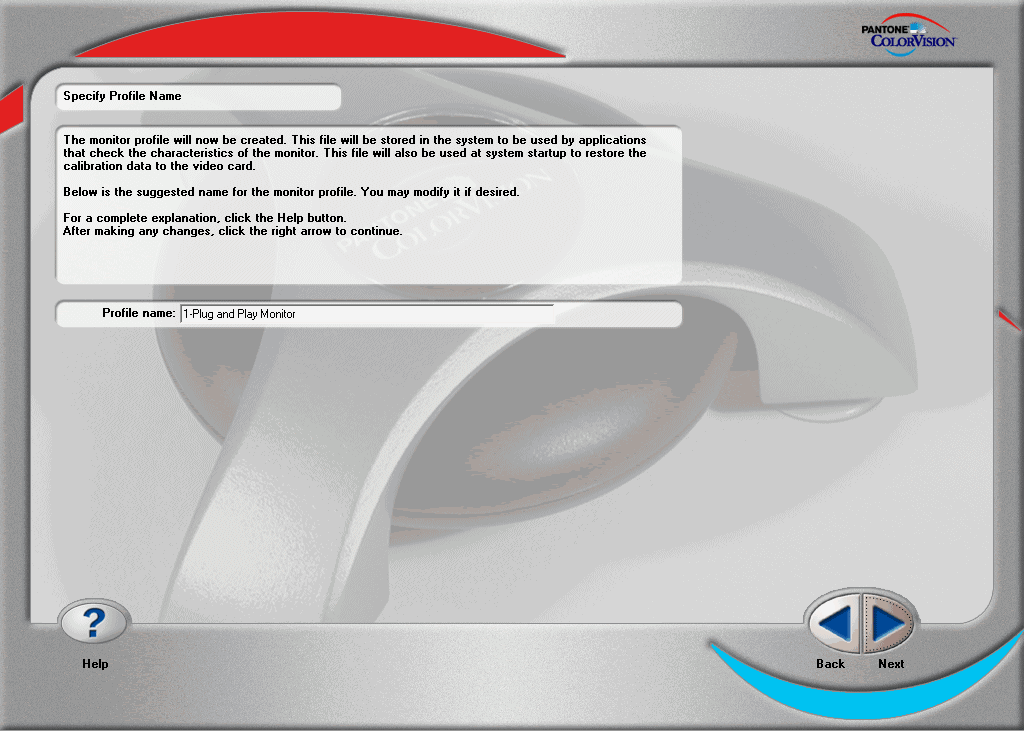 |
| Step 21 Enter a name for the ICC profile that you are creating. The default name is a bit meaningless (Plug and Play Monitor) - I changed it to Spyder2PRO Studio to indicate what calibration device I used to create the profile. |
 |
| Step 22 Your profile has now been created and set as the default profile for the monitor. |
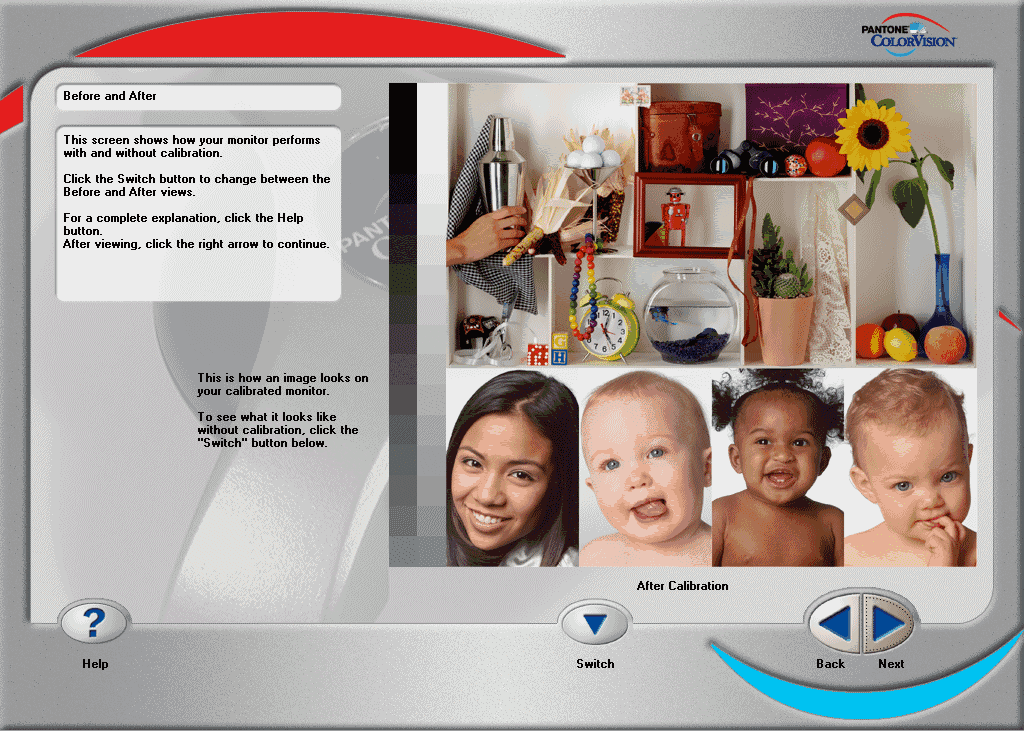 |
| Step 23 You are now shown a Before and After of what your monitor looks like using a standard test image. You should hopefully see a marked improvement in the After screen! |
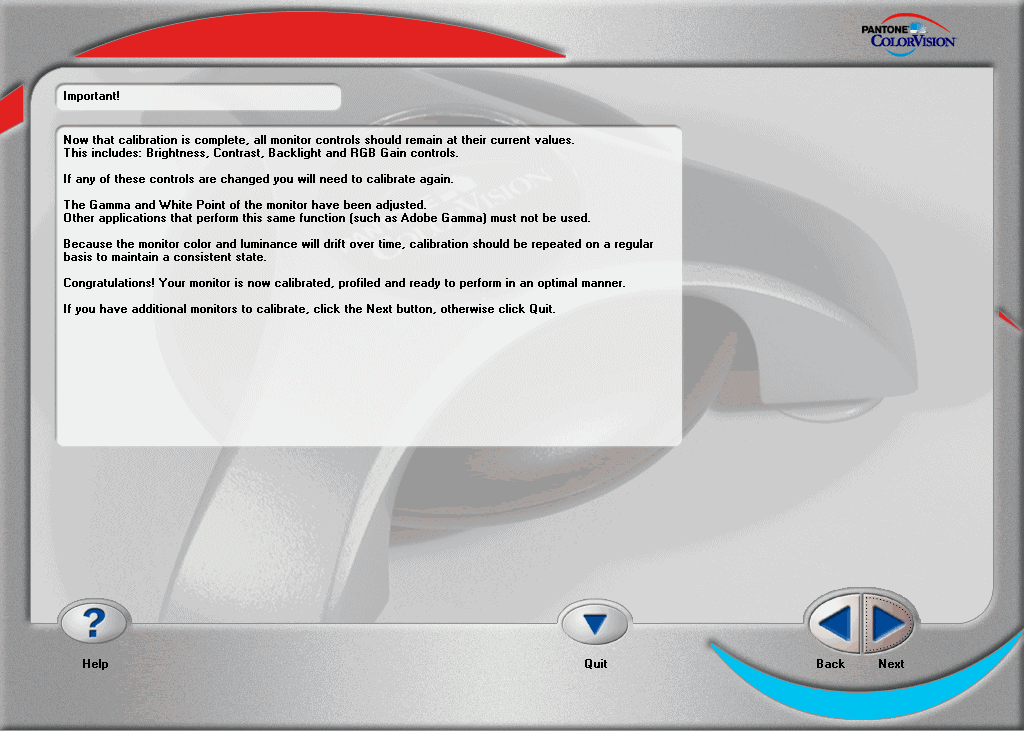 |
| Step 25 The final screen gives you important information, including not leaving monitor controls at their current settings and the importance of re-calibrating on a regular basis. Click Quit to end the calibration process. |
And that's it - you should now have a well-calibrated monitor! The whole process takes about 30 minutes to complete, and you should repeat it every 2-4 weeks because your monitor's colours will shift over time.
Included Extras
Three extras are included with SpyderPro Studio - note that I haven't had time yet to review them:
- DoctorPro
For the demanding user who is interested in sophisticated profile editing, DoctorPRO allows editing of output profiles using virtually all of the Adobe Photoshop global editing tools. Open an image in Adobe Photoshop and begin recording a script. Any global adjustments you now record into your script will later be applied to the profiles you choose. Your adjustments will be shown on screen in the selected image as you progress. Save your changes as an Adobe Photoshop script and apply them to the profile. That’s it! You’ve just edited your output profile, simply, easily and accurately. - Pantone Colorist
Select Pantone colours from within your favorite application. Features the latest RGB and HTML values and enables color selection from the Adobe RGB (1998) or sRGB color space. - nik Color Efex Pro 2.0 Standard Edition
The nik Color Efex Pro 2.0 Standard Edition includes 19 filters for a wide variety of photographic styles and enhancements. The Standard Edition provides key filters for color and light enhancements, including the Skylight filter, the Midnight Blue filter, and the award-winning Sunshine filter. Filters in this edition offer a range of enhancement and stylizing options ranging from correcting colors and adding light, to creating a cinematic day for night effect and diffusing light in an image.
Conclusion
![]()
(out of 5 stars)
A lot more complicated than the consumer level ColorPlus that I reviewed last year, the Spyder2Pro Studio is also a lot more accurate in terms of its output. Stepping up from ColorPlus to Spyder2Pro Studio for calibration was almost as effective as going from an uncalibrated monitor to one calibrated using ColorPlus. ColorVision's claims of a 5 times increase in accuracy with its new colorimeter really do seem to be true, with much more accurate colours and shades of black and white obtained by using the Spyder2Pro Studio. Using the Before and After Calibration function shows a marked difference between the old ColorPlus ICC profile that I was using and the new Spyder2 profile. Spyder2Pro Studio is more complicated in terms of the features that it offers, but at the same time ColorVision have worked hard to ensure that the calibration process is still quite straight-forward, with a very easy-to-use Wizard-based system and great online help that explains technical jargon in plain English. There's no doubting that the new Spyder2 system is a definite improvement over the older products - you just need to decide if the Spyder2Pro Studio package is the right one for you, as there are also bare-bones Spyder2 and advanced Spyder2 Plus products available (which are both cheaper than the Studio version). You can see an overview of all three products here. If you don't need the professional level features of Spyder2Pro Studio, like curve manipulation, custom targets and the DoctorPro printer profile editor, then I would suggest that Spyder2 Plus is probably a more cost-effective solution.
Related Links
Leave a Comment about this Review